

Most engine room problems show up early. A salt trail forms below a clamp, a belt leaves a little dust, or there’s more water in the bilge than last time. Walk through the engine room on every visit and you’ll catch these while they’re small, as long as you look the same way each time and write down what you see.
Before you go below
Shut down the engines and generator and give them time to cool. Make sure nothing can start on its own or by accident while you’re working near the machinery. Leave the coolant caps alone until the engines are cold. Bring a good light and your phone so you can photograph what you find and note readings right beside the equipment.
This checklist covers a dockside visit with everything off and cool. It’s about visible condition. Checks that need the engines running are a separate job.
Make each visit comparable
Pick a route that takes in all the machinery you can reach, and follow it every time. Give each check a specific pass condition, such as “oil between the marks on the dipstick.” If you can’t get to an item, mark it as not checked so nobody assumes it passed.
Photograph from the same spots in similar light. A new salt trail then stands out against last month’s stain, which matters most when you and your captain or manager take turns visiting.
The engine room checklist
- Bilges. Note the water level and how it compares with the last visit. An oil or fuel sheen, or any liquid you don’t recognize, is worth tracing to its source.
- Engine and generator oil. Pull each dipstick the way the manufacturer specifies. The level should sit inside the marked range. Milky oil, or a level that changed for no clear reason, needs looking into.
- Coolant. Read each visible tank against its cold mark, and look for dried coolant around caps and hose connections. If the level keeps falling, find the cause instead of topping it up every visit.
- Belts. Frayed edges, cracks and rubber dust around the pulleys all point to wear. Make sure each belt sits properly in its grooves, and check tension only the way the manufacturer describes.
- Hoses and clamps. Run your light along every hose and look for chafe, bulges and splits. At the joints, clamps should be tight and free of heavy corrosion, with no staining or damp.
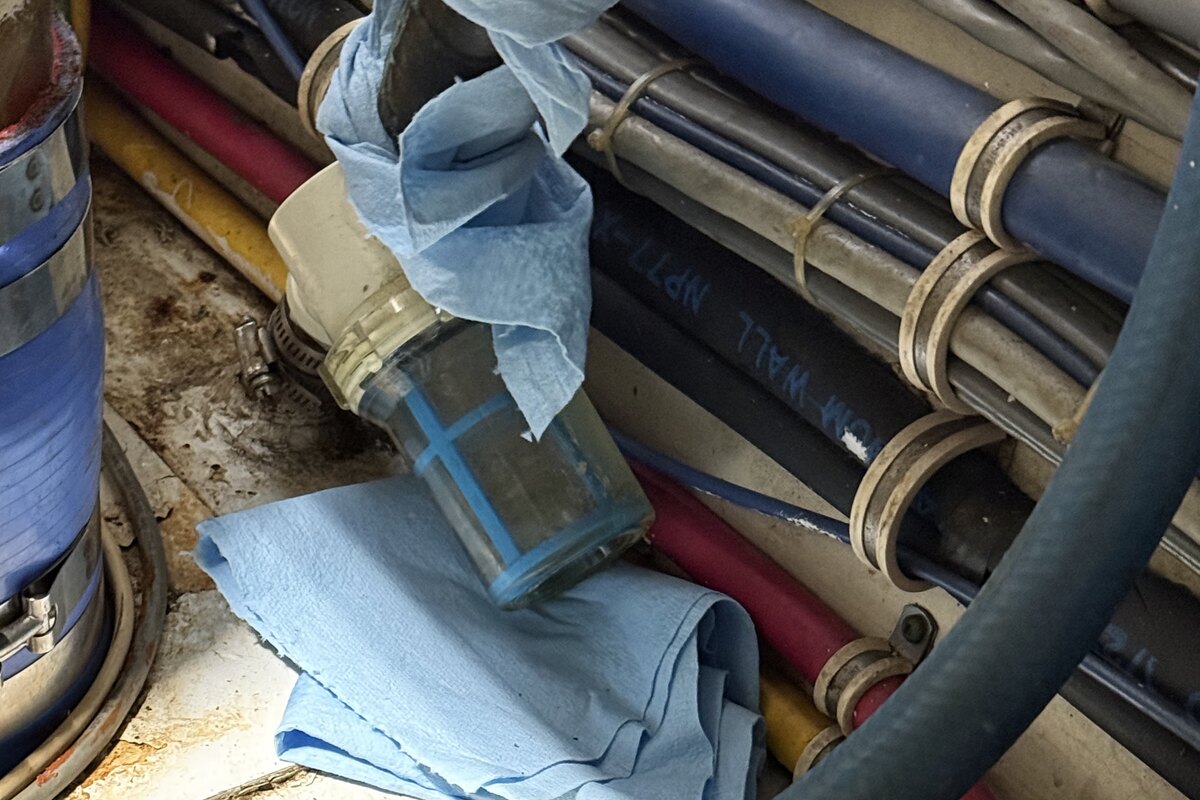
- Raw water strainers. Look through the clear bowl or cover for debris, and check the lid for salt crust or weeping. The body and its connections should be intact and dry.
- Seacocks and through-hulls. Confirm every valve is in the position it should be, and check through-hulls and hose tails for corrosion or weeping. You need to be able to reach each valve quickly, so treat blocked access as a high-severity finding.
- Exhaust elbows and mufflers. Soot, leak tracks, cracks or a damaged hose joint on any visible part needs attention. Treat a suspected exhaust leak as urgent, since exhaust gas can get into the living spaces.
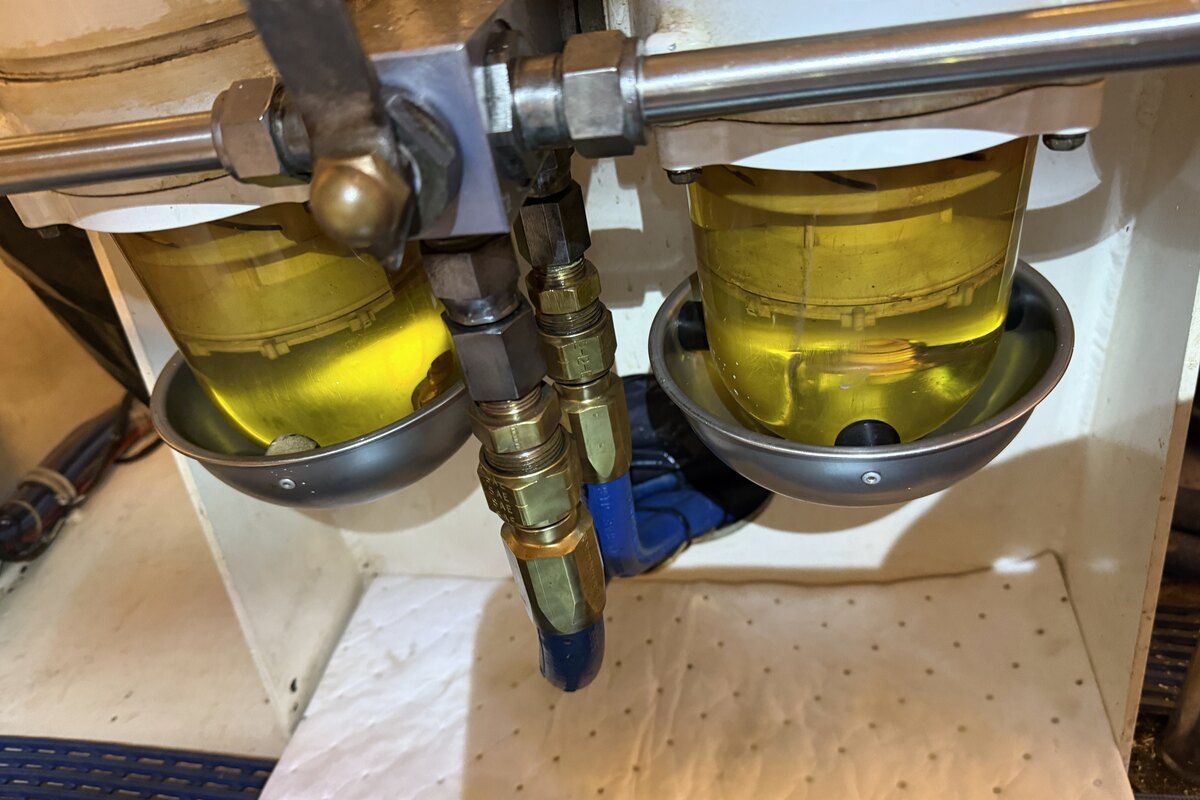
- Fuel filters. Check filter bowls and separators for water or sediment. Then look under and around the fuel equipment for wet fittings. A suspected fuel leak is urgent.
- Shaft seals. At rest, look for water tracks, salt deposits or a drip you don’t expect. Packing glands and dripless seals behave differently, so judge what you see against the seal type and the manufacturer’s guidance.
- Batteries and chargers. Cases should be sound, with no swelling or corrosion at the terminals. Note the charger status, any fault light and the battery voltage, and compare the voltage with what’s normal for your battery type and charge state.
- Wiring and heat. Check the wiring and connections you can see for discoloration or melted insulation. A burnt smell or visible heat damage is urgent. Don’t touch equipment you suspect is damaged while it may still be live.
- Hour meters. Write down each engine and generator reading with the date. Hour-based service intervals depend on these numbers, and they show how much the boat has run since you were last aboard.
Get a suspected fuel or exhaust leak assessed before you run the equipment involved, and call in qualified help quickly for any sign of electrical heating. If you smell strong fuel vapor or see smoke, leave the space and get help right away. Don’t operate any electrical switches on your way out.
Keep the finding connected to the repair
When a problem lives in a photo on your phone and a text to the mechanic, the link between what you found and what got fixed is easy to lose. Harbor Guardian keeps it in one record.
You build your engine room walkthrough once as a checklist template, then run it on your phone each visit. Reference photos show what acceptable looks like, and proof photos record what you actually saw. Hour meters and battery voltage go into number fields, and every answer saves as you go.
Say you notice new salt crust around a raw water strainer lid. Photograph it and report it as a finding linked to that strainer. From there, create a task or a work order for someone to assess and repair it.
Once the repair is done, attach the service details. On a later visit, after the system has run and cooled, check the lid again, photograph it dry and note whether any new deposits have formed. The original finding now holds the whole story: what you saw, what was done and proof that it worked. That’s a far better record than a text that says “sorted.”
See it on your boat
An engine room walkthrough is worth the most when it leaves a record you can compare against next time. Contact us and we’ll show you how Harbor Guardian would run this walkthrough and follow each finding through to repair, on your boat or across your fleet.